Practical effects pedal layouts and routing
Explore common pedalboard layouts that help achieve reliable signal flow, tidy power distribution, and intuitive stomp switching. These examples from The Signal Chain in Millville show starting points for arranging tuners, drives, modulation, time-based effects, and amp routing. Use them as guides — the right layout is the one that sounds best. Below you’ll find clear, shop-tested arrangements and power practices we use when building boards for local players and touring acts. If you want a custom layout optimized for your rig, stop by The Signal Chain in Millville or request a consultation.
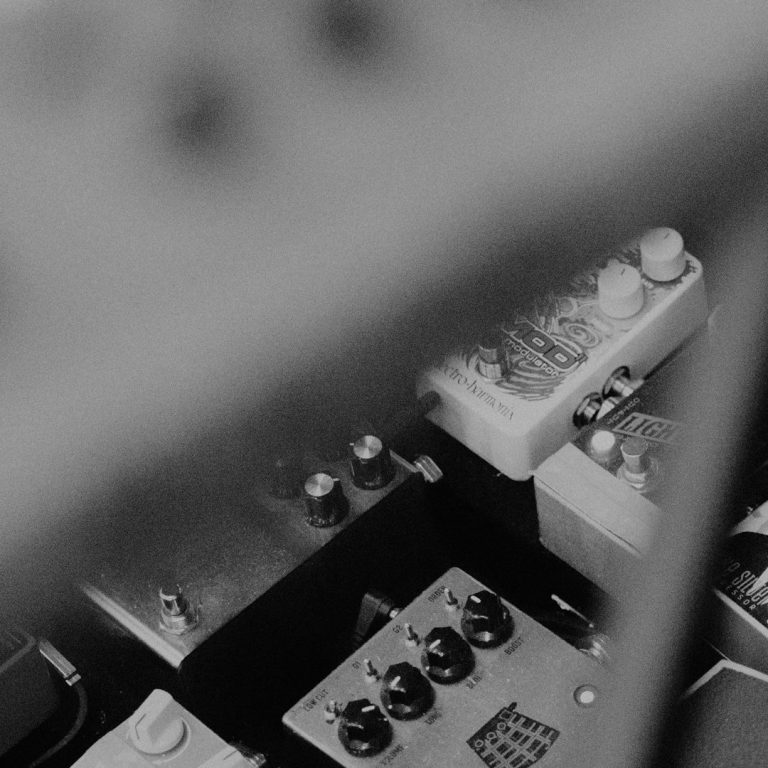
Compact Gig Board: Tuner through Amp
This layout is built for portability and onstage reliability. Place the tuner at the front of the chain so silent tuning is available before sound hits drives. Follow the tuner with dynamic and gain stages — compressors, overdrives, and distortion — then tonal shaping pedals like EQ and boost. Put modulation effects after gain for clearer chorus and phaser textures. Time-based effects such as delay and reverb live near the end of the chain so repeats and ambient tails sit behind modulation. For amp routing, send the final output to the amp input or to an amp-friendly effects loop if you want delays and reverbs inside the amp loop. Keep patch cables short between high-gain pedals and use a buffered pedal or buffer first in the chain if you need long cable runs. The Signal Chain recommends a compact isolated power supply mounted under the board for each pedal’s current needs and neat cable ties to prevent accidental unplugging onstage.
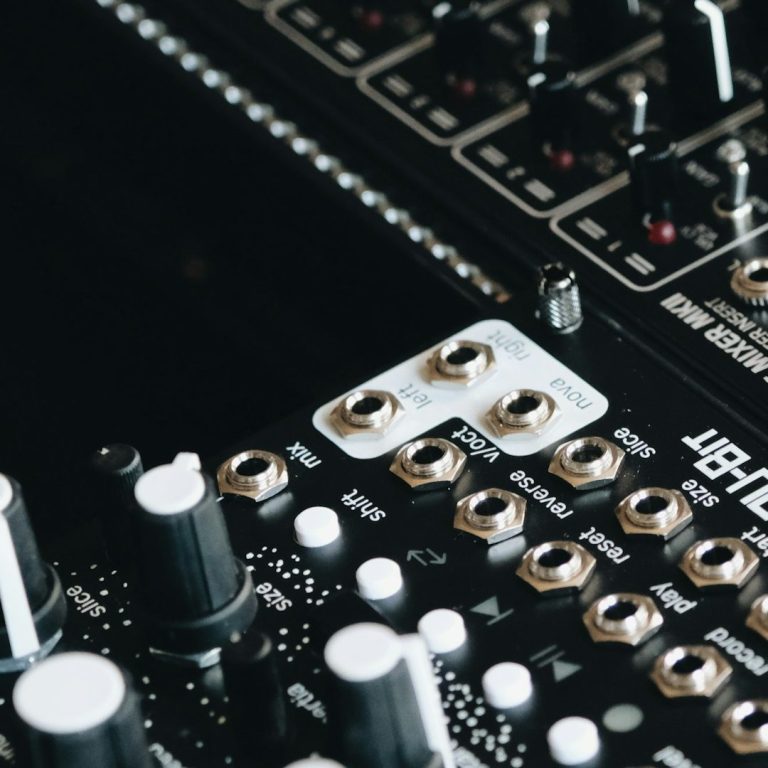
Patchbay-Centric Setup: Fast Swapping and Reamping
A patchbay simplifies swapping pedals, routing to multiple amps, and integrating rack gear. Place the patchbay at the back edge of the pedalboard or in a small rack case so you can re-route signal without crawling under the board. Use the patchbay to create dedicated send/return loops for amp effects, to inject pre-recorded signals for reamping, or to route signals to an external looper/switcher. Label every jack and use color-coded patch cables for quick changes at soundcheck. We install Neutrik-style jacks and tidy cable channels at The Signal Chain to reduce connection wear and keep signal paths obvious at a glance.

Power Distribution Best Practices
Reliable power is the foundation of a quiet, dependable board. Use an isolated power supply with dedicated outputs for pedals that contain digital circuits or high current draws. Match the voltage and polarity requirements of each pedal and allow headroom for current spikes from analog pedals and active preamps. Avoid daisy-chaining sensitive pedals unless they are explicitly designed for it. Implement star grounding where possible and keep audio cables separated from power lines to reduce hum. We test each powered board at The Signal Chain in Millville to ensure no ground loops, and we label power feeds so you can swap pedals quickly without guessing which output does what.
Stereo and Amp Routing Examples
When going stereo, place time-based modulation and delays before stereo splits, and keep reverbs last on each stereo path so tails remain cohesive. Use a buffered splitter or dedicated stereo pedals to preserve level and tone when feeding two amps. For A/B or ABY amp switching, choose a true-bypass ABY box or a buffered switcher depending on whether you want to preserve your pedal chain’s impedance. If you want amp effects loops involved, route preamp pedals to the amp input and time-based effects to the amp’s effects return for the most natural interaction. The Signal Chain offers wiring diagrams and on-site testing in Millville to demonstrate how each routing choice affects tone in real rooms.